
Putting aside my stubbornness and unwillingness to let go of the wondrous season, I thought it would be helpful to include a post of the step-by-step leaf napkin folding instructions. Whether you use your leaf napkin in summer or the upcoming Fall, it is sure to make a spectacular statement to any table.
If you missed my post which features the leaf napkin fold, you can find it by visiting my July's post, A Tropical Paradise Tablescape. Remember to use a napkin made of fabric which is thicker and will hold up to the folds that you wish to make to form the beauty of the leaf. The napkin size which I used was a Ralph Lauren napkin and is measured at 20 inch x 20 inch.
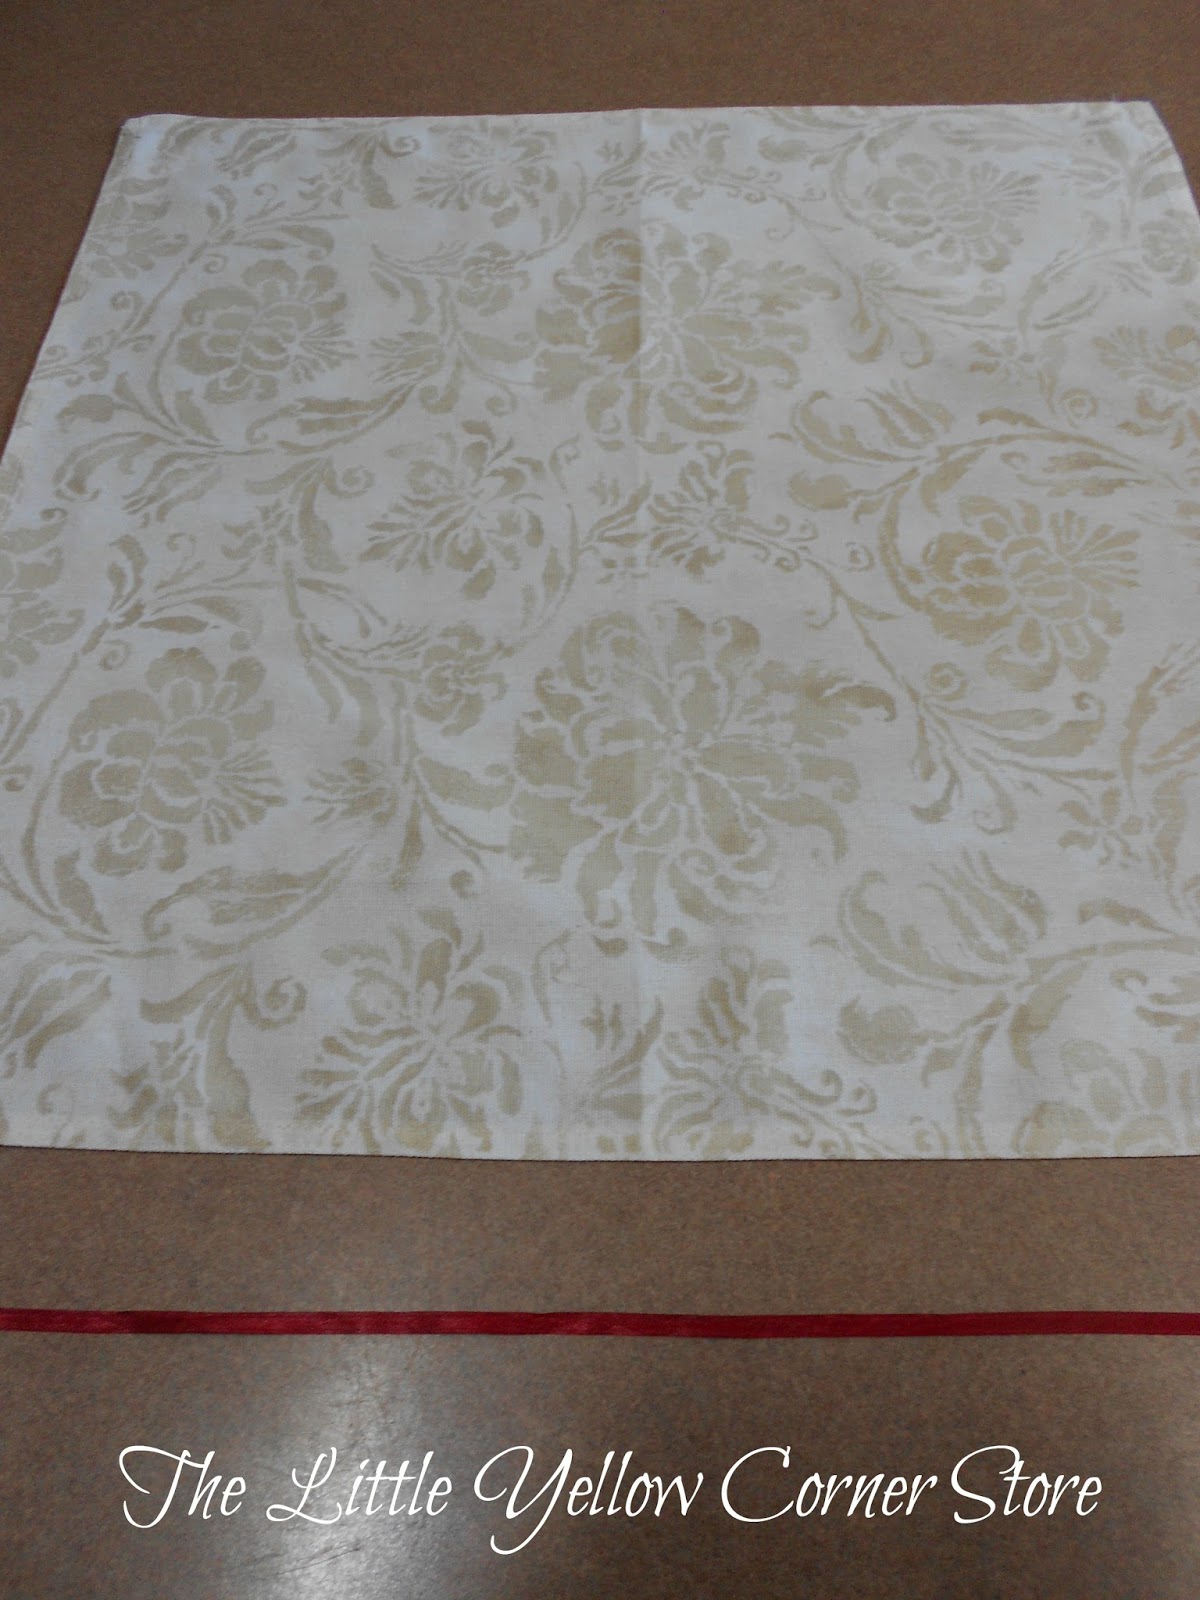
So lets start with step one, a picture of the open napkin and a contrasting or coordinating 20 inch strip of ribbon.
Step 2. Fold the napkin to form a triangle.

Step 3. Begin by folding the bottom of the napkin up by one inch. Here is where I will mention that you can iron each of the folds from this point on until no more folds can be made and it is time to tie the napkin and its many folds. Ironing will give it more visible pleats to the completed napkin which help to add the feeling of depth. This is why it is also important to use a thick fabric to your napkin so that it holds these shapes.

Step 4. Now while holding that fold in place, turn the napkin over.

Step 5. Now fold the napkin up. You will be folding it up and down from this point on making an accordion-like fold until the napkin is completely used up in the folds.

Step 6. Make another fold down.

Step 7. Now another fold up. You can begin to see the various fold sizes on the sides of the napkin.

Step 8. Almost there....another fold down.

Step 9. The folds are getting smaller...just a few more and we will be closer to the finished napkin.

Step 10. Perhaps just two more fold will do it.

Step 11. The last fold and we are ready to tie the bottom of the napkin.

Step 12. While holding the napkin folds in place, slip the ribbon under the napkin and tie it into a pretty bow.

Step 13. Now turn the napkin on its side.

Step 14. Carefully bring together the long ends of the napkin until they meet and form into the leaf. Fasten with a paperclip in the hidden folds.

Step. 15. Adjust the ribbon and the form of the leaf so that the folds are as prominent as possible. If you have ironed each of the above folds, it may have helped to be more visible when the leaf is completed.

There you have it....a beautiful leaf. You can decorate the leaf however you would like, just use a neutral ribbon cut short or hidden in the back of the napkin to allow for a different embellishment like a piece of jewelry, a large flower, a sea shell, wired acorns or any other pieces that come to your mind, depending on the season.
I hope you will enjoy the last days of the fading summer and welcome the beautiful autumn season with exuberance and gusto.
This reminds me so much of a napkin fold I did when I started my blog. A few weeks ago I actually deleted about 100 posts and that was one of them (the pics were terrible lol). The leaf is so pretty and perfect for Autumn!
ReplyDeletexxx
Pinning this to remember how! Thanks for sharing.
ReplyDeleteHave never seen this napkin fold, but I really like it..........
ReplyDeleteThanks for sharing it.
Blessings, Nellie
Very fun napkin fold, especially with fall arriving. Thanks so much for sharing your creative napkin fold at DI&DI.
ReplyDeleteI haven't seen this fold before. It is lovely. I am pinning for sure.
ReplyDeleteVery pretty napkin!
ReplyDeleteI wish I took the time to make pretty napkins. This one looks pretty doable. Thank you for sharing at Your Inspired Design.
ReplyDeleteThis is so nice! I tend to take the easy way out with my napkins and just give them a flat fold. Thank you for sharing with us this week at Celebrate Your Story, have a great weekend!
ReplyDeleteSuch a pretty blog - thanks for the how to - love a pretty table napkin!! Your neighbour at Celebrate Your Story this week.
ReplyDelete